31 march 2025
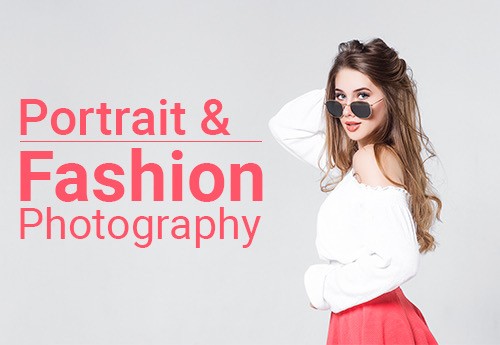
I am Raghav Aggarwal, focused on bringing the latest trends in digital photography to aspiring photographers and hobbyists. I work to build a team of experienced photographers dedicated to sharing their practical knowledge with young talent, helping them turn their passion for photography into a career.
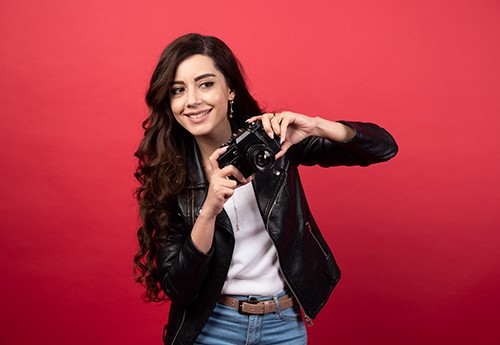
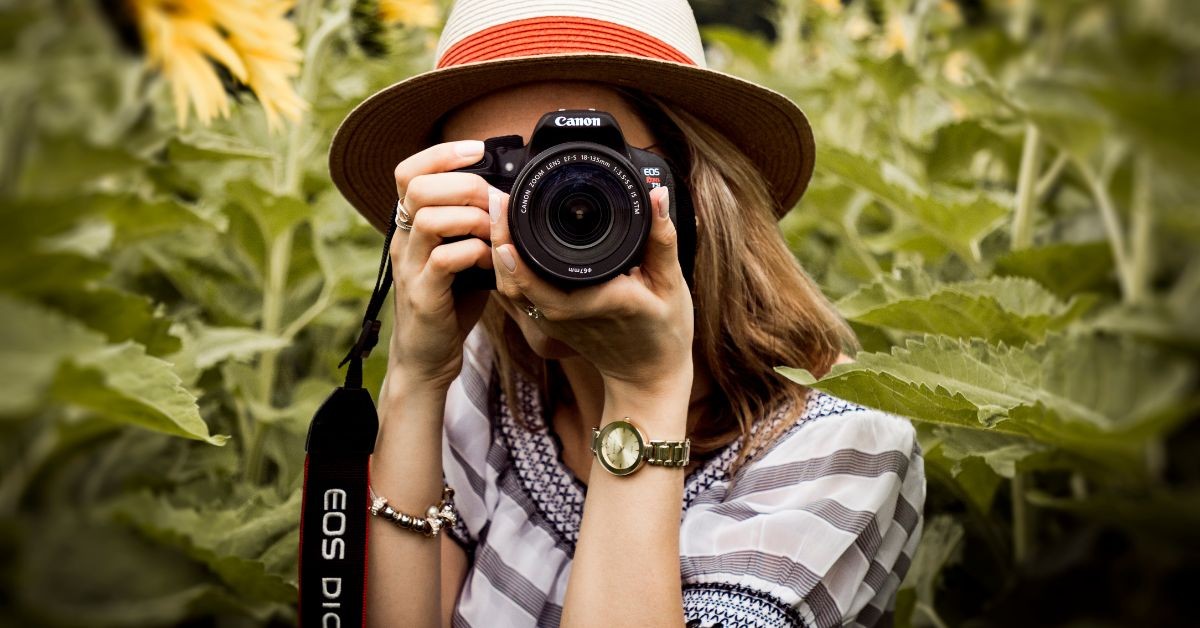
Lighting is the soul of photography. It's what sets the mood and the tone, defines the subject, and much more. It's often what separates the great photo from the one that got away. It doesn't matter how good your camera is or how well-composed your image is if the light is not perfect, everything else crumbles.
Mastery in the different varieties of lighting plays a central role in photography. This is not a flip-on-the-switch-or-stand-by-the-window kind of course. It's about knowledge of how the different lighting techniques behave around their subject and within their environment. Be it portraiture, product, or wedding photography, any practitioner or lover of the art, it is an entirely different dimension once one learns how to manipulate light.
Then, let us plunge into the intriguing world of lighting in photography, its varieties, properties, and applications, and explore them all.
Let us decompose the matter. Lighting in photography can be put into two main categories, namely natural and artificial.
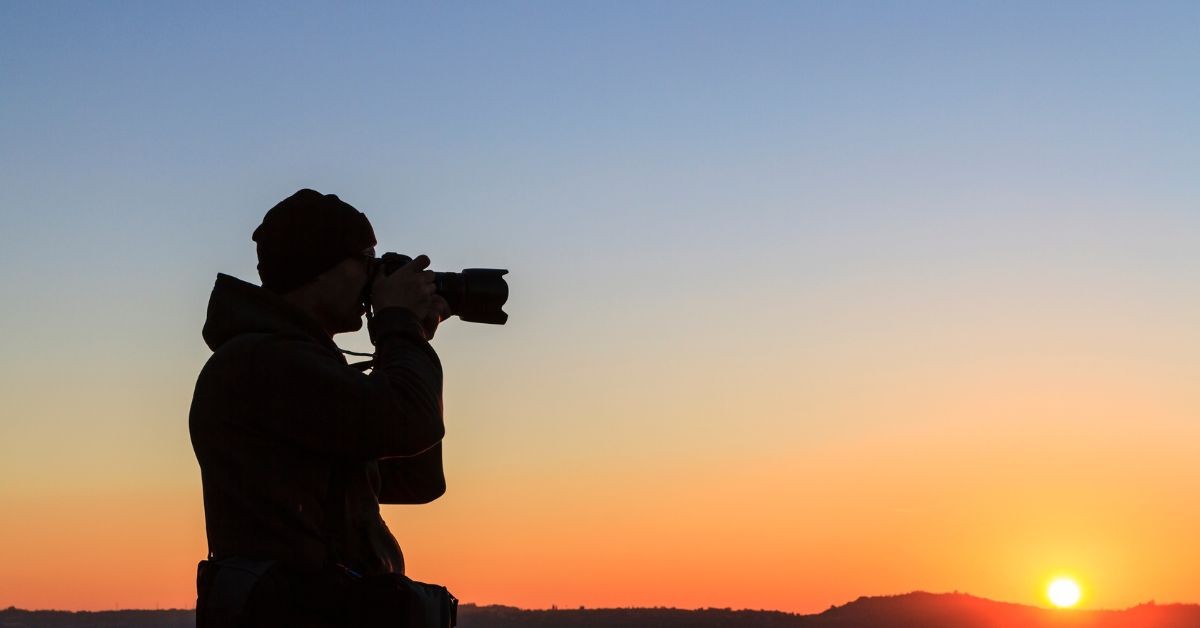
Natural light is simply that which comes from the sun. It could be soft and diffused, as on a cloudy day, or harsh and directional, as at noon on a clear summer afternoon. Natural light is unique in its unpredictability. It is loved by photographers because of the organic, real-life feel it imparts to the images. However, being unpredictable and in constant flux, one needs the capacity to move quickly and adapt.
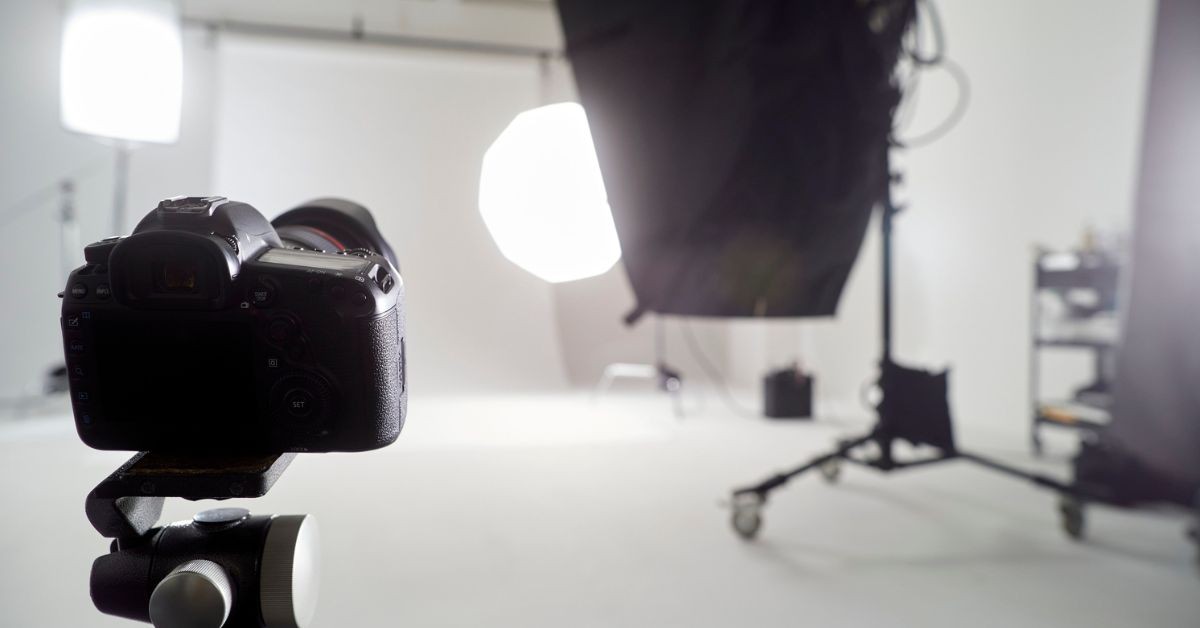
Artificial light, on the other hand, allows you absolute control. Whether you are working in the studio with a full lighting setup or with an LED panel, you are in charge of intensity, direction, color, and overall mood. This interesting manipulation can offer whichever creative look you want- whether dramatic high-contrast portraiture or softly lit, even product shots.
Both types can find their respective places in photography. Very often, professional photographers will combine the two in order to achieve a desired balance or to highlight an element within the frame.
Understanding how light behaves and how to use it effectively can transform your work. Here are some of the most commonly used types of lighting setups in photography:
The light source is usually situated directly in front of a subject, suggesting its nearness to the camera. This lighting condition lights the subject evenly to minimize shadows and reveals all its details.
It is popularly used in beauty photography, ID photographs, and portraits of beginners, as it is quite forgiving. Because it tends to flatten features and reduce depth, this effect can sometimes result in a rather less dramatic or dynamic look. If your aim is to bring out textures or lines, you might want to avoid front lighting, but for simplicity and clarity, it works beautifully.
This allelic backlighting will result in an illuminated subject in an aura or silhouette, depending upon the exposure applied. Picture it - the golden hour setting when the sun is low and behind the person, creating an ethereal glowing halo around them.
This kind of lighting creates drama and depth in the photo, allowing an expression of emotion to emerge. Backlighting is your best friend when it comes to storytelling photographs, lifestyle photography, or wedding portraits. The trick is all in the exposure: deciding whether to expose the subject correctly and potentially blow out the background or expose for the background and create a silhouette.
Illuminating the subject from either the left or right side, side lighting is used to create depth and dimension. It accentuates texture, shape, and structure, which is why it is so commonly used in portrait and product photography.
This lighting is extremely effective for black-and-white photography or artistic portraits, where contrast and mood are highly relevant. Side lighting helps create natural highlights and shadows on the subject, while reflectors or diffusers are used to soften or accentuate the effect.
Split lighting just steps up the drama of side lighting. The light is cast 90 degrees to either side of the subject, creating two halves of the face: one brightly lit and the other in shadow. It is a very arresting image that can bring an intensity and hint of mystery.
Neatly used in editorial work focused on fashion, film noir, and character-driven portrait work, split lighting presents the subject boldly, earnestly, or, at times, menacingly. Split lighting is not for everyone, yet when applied with intent, it can be arguably the most effective of lighting techniques.
Named after the Dutch painter who famously worked in this lighting style, Rembrandt lighting sees the light being positioned approximately 45 degrees to the side and slightly above the subject. The defining characteristic is a small triangle of light on the shadowed cheek below the eye.
Portrait photographers dearly love Rembrandt's lighting because it offers that nice balancing act between drama and gentleness. It brings depth but does not overdo it or become too cutting; thus, it is suitable for classic and contemporary portraits.
Loop lighting is another flattering portrait lighting setup; it entails placing the light source slightly above and to the side of the camera, resulting in a slight, soft shadow of the nose that loops down onto the cheek. This works for most faces very well and lends a soft dimension. It is popular in the realm of beauty photography and professional headshots, where it is prized for its natural and pleasant effects.
Butterfly illumination uses a front light source slightly above eye level to create symmetrical shadows under the nose, resembling a butterfly. Whereas this setup is very flattering for high cheekbones, it is also used in many fashion and glamour shots. It smoothes wrinkles and blemishes, hence making it a classic beauty portrait and a classic Hollywood-style portrait go-to.
Soft lighting is light that has diffused or spread out, which creates fewer harsh shadows and a more gentle and very flattering look. Typical examples are cloudy skies, softboxes, or bounced light off walls and ceilings.
Soft light wraps around the subject. It is for portraits, still life, and anything delicate and refined. It is for beginners, as it is not so hard, so they do not have to face differentiations as strongly.
It's intense and directional. This light produces deep shadows and sharp highlights that enhance textures and dramatize surfaces. The midday sun and bare bulbs are prime sources of hard light.
Hard light can sometimes be unflattering when used carelessly, especially in portraiture. But in an artist's hands, it can represent strength, grittiness, and contrast, making it perfect for impactful visuals and storytelling.
Ambiance refers to the general, natural, or artificial light currently existing within a scene, such as daylight streaming through a window or the overhead room lighting. Photographers often construct their setups around ambient light, either using it as a base or combining it with other sources.
The main challenge with ambient light is its unpredictability, the fact that it can change rapidly, and it's often mixed (e.g., sunlight + indoor lamps), which makes color balancing a little tricky. Still, it remains a vital component of real-world photography, especially in event, street, and documentary genres.
Fill light, by definition, is a secondary light that is not meant to become the principal source, while its application in overcoming the shadows created by the primary or principal source light is important. Reflectors, bounced cards, or the use of low-powered lights may do this.
Fill light is important, especially in portrait setups where the contrast is too much for the key light. The idea is not to eliminate shadows but rather to soften them while keeping some semblance of volume.
Practical lighting is the kind of lighting that appears inside the frame of the photo, be it lamps, candles, or streetlights. These types of lighting not only perform the function of lighting the subject but also serve to give realism and atmosphere to the image.
Practical lights made it mandatory to use them in cinematography as well as lifestyle shoots, where the importance of keeping the environment authentic is as valuable as carrying perfect exposures.
Also Read: - Best photography institute in india
Very likely, you have found out by now that there is really no such thing in photography as the best lighting, each having its own purpose, effect, or creative potential. The magic happens as you learn just when to use this one or how to modify light to your vision.
Starting out with natural light, understanding where it comes from and how strong it is, before eventually moving into the world of artificial setups using strobes, modifiers, and reflectors for whatever conditions you find yourself facing. Above all, you should develop an eye for light: how it drops on the face, what it does in relation to shadows, and what different emotions that change in the face it can evoke in a photo.
Not all good lighting requires enormous studio setups or overly pricey equipment. Sometimes, good lighting means that you'll just have to sit next to a window at just the right time or turn on a baby lamp. This is all about trying things, watching, and being curious.
So whether it is outdoor portrait shooting in the backyard or fabricating a complex studio scene, light is probably the strongest tool you have, and learn it, sculpt it, bend it - and watch your magic come to life in photography.